Nook Color Honeycomb Review and How To
What is Honeycomb?
Honeycomb is the newest version of Android (3.0) and is the first version designed for tablets instead of smartphones. Major Android tablets being released this year such as the Motorola Xoom and T-Mobile G-Slate will come installed with honeycomb.
The Nook Color was the first device on the market running Android 3.0 thanks to the developers at XDA. All that is required to install Honeycomb on a Nook Color is a microSD card. No hacks. No roots. No complicated steps. Everything runs off the memory card. Take the card out and you're back to your stock Nook Color. It's like having 2 Nook Colors in one.
Nook Color Honeycomb Walkthrough
How to Get Honeycomb onto Nook Color
1. First you're going to need a 4GB or larger microSD card, the higher the class the better. I'm using a Sandisk 8GB class 2 card in the video above and even with the lower class it runs pretty smooth. If the card has data on it back it up because it will be erased.
2. Go to the XDA forums, read the directions and disclaimers, then download the updated Honeycomb image file.
3. Unzip the Honeycomb file on your computer and then burn the image to the microSD card. I have Windows and used a free program called Win32DiskImager. Others have used WinImage. You can find directions and updated info for multiple operating systems at NookDevs (they link to the image file too).
4. Shut your Nook Color down. Insert the Honeycomb SD card and then power it on. If everything worked properly Honeycomb will boot automatically from the memory card! If not, don't worry, there's quite a long discussion and helpful info on the aforementioned XDA thread.
Note: Honeycomb can also be saved to the Nook Color's internal memory, but at the cost of erasing all the existing internal data. Both websites mentioned above have directions for that as well as adding the Android Market, rooting, overclocking, and other hacks, including everything for Froyo (Android 2.2).
Android Market App
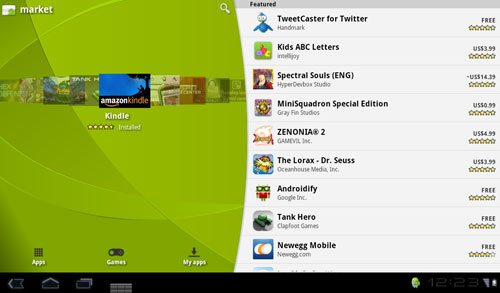
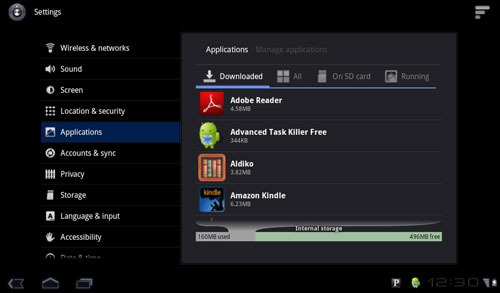
The Android Market app and Google apps will probably be integrated into one simple process in time, but as of this writing I had to add the Android Market App to my Honeycombed Nook Color by using ADB following the steps outlined at NookDevs. If you have the Android SDK installed it takes all of about 2 minutes. If that looks too complicated you can still install apps via the regular methods.
Honeycomb's New Look
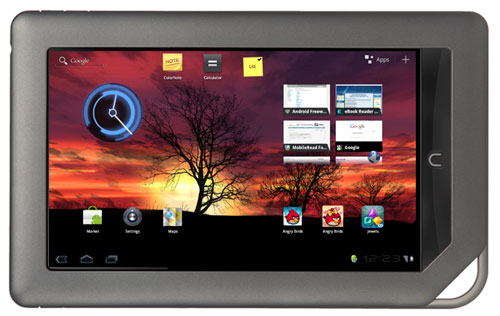
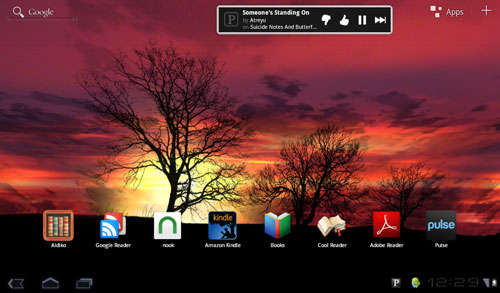
Being designed for tablets, Honeycomb is visually a lot different from earlier versions of Android. There's a big focus on widgets and images and making use of tablets' larger screens. All the buttons you need for navigation are on-screen in the lower left corner, which suits the Nook Color well since it is limited in the button department.
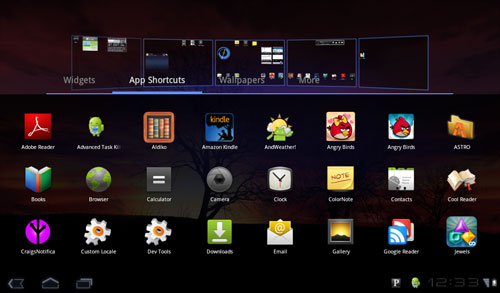
The image at the top of this page illustrates one of five pages for the homescreen. The image below shows all five screens at the top with options to add app shortcuts, widgets, wallpapers, and other shortcuts directly to each of them.
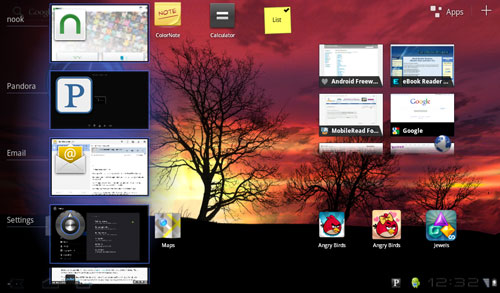
Recent App List
Honeycomb is setup with a cool new multitasking feature that shows a list of recent running apps to quickly move between them.
New Web Browser
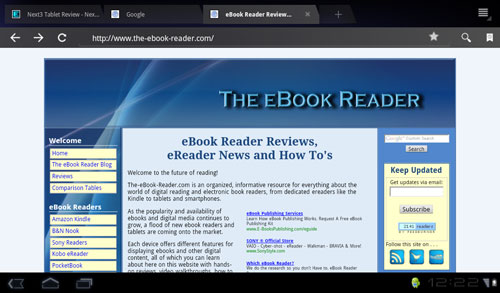
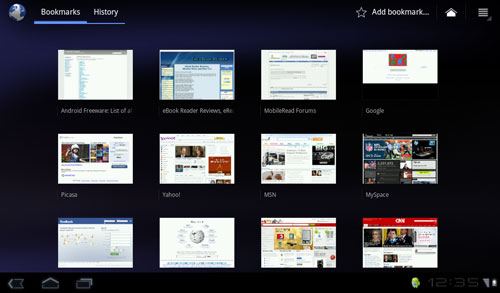
The new Honeycomb web browser is impressive. It loads fast, scrolling is smooth, there's tabbed browsing, the bookmarks menu looks great (second picture below), and there's some advance features for saving and sharing text and images, running searches, and syncing with Google Chrome.
Reading Apps
I've tried several reading apps and some work well while others are still buggy on the preview version 4 of Honeycomb I'm using. The Kindle and Nook apps seem to work well. What's interesting about the Nook app is that it has landscape mode for 1 and 2 pages while the stock Nook Color reading app does not. Also it's worth mentioning that you do not have access to your Nook Color's stock functions while running Honeycomb; you have to remove the memory card for that.

New eMail Layout
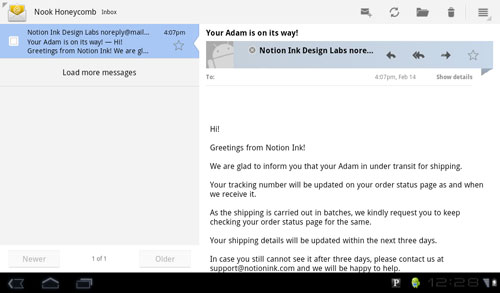
Honeycomb has a new email interface that's more fitting for a tablet. It's a lot like gmail in a web browser with your folders on the left and the main email content on the right.
